
In order for a 3D asset to be viewed correctly on the platform, it is necessary to follow some rules:
1 - Registration of the .obj asset:
Step 1 - Upload the .obj asset to the Bucket (only 1 per Item);
Once processed (processing time varies depending on Asset size):
Step 2 - In the Bucket itself, select the Asset and click  which will appear in the lower right corner of the screen;
Step 3 - It will open a space for the creation of the Item;
Step 4 - Write the name and description;
Step 5 - Define whether the Item should be registered as 'Published', 'Unpublished' or 'Effective';
Step 6 - Select the Segment, Category and Metadata to which this Item should be linked;
Step 7 - Click Save to generate the 3D Asset,
2 - Registration of the .jpg texture file:
Follow the same process as above, only now with the Texture assets in .jpg (in this case there can be more than 1 active in the Item), save;
3 - Association of Items:
Step 1 - Through the DAM, open the Item where the .obj asset is registered;
Step 2 - On the right side menu, click on the 3D icon  (3D item);
Step 3 - Search for the Asset referring to the texture name and select it;
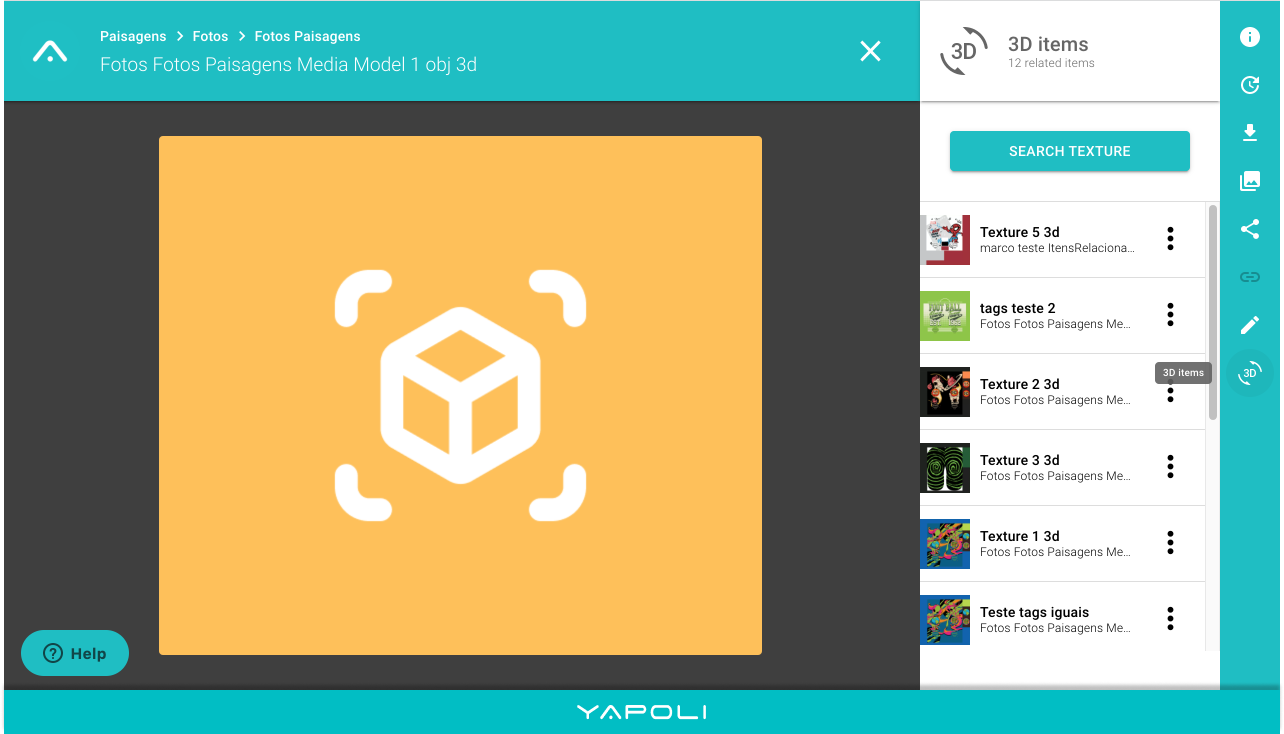
Step 4 - Click on the texture link and you will be directed to the Item where it is registered;
Step 5 - To view the 3D Asset in its entirety, click again on the right side menu, on the 3D icon ;
Step 6 - You will be directed to the Asset in its full view;
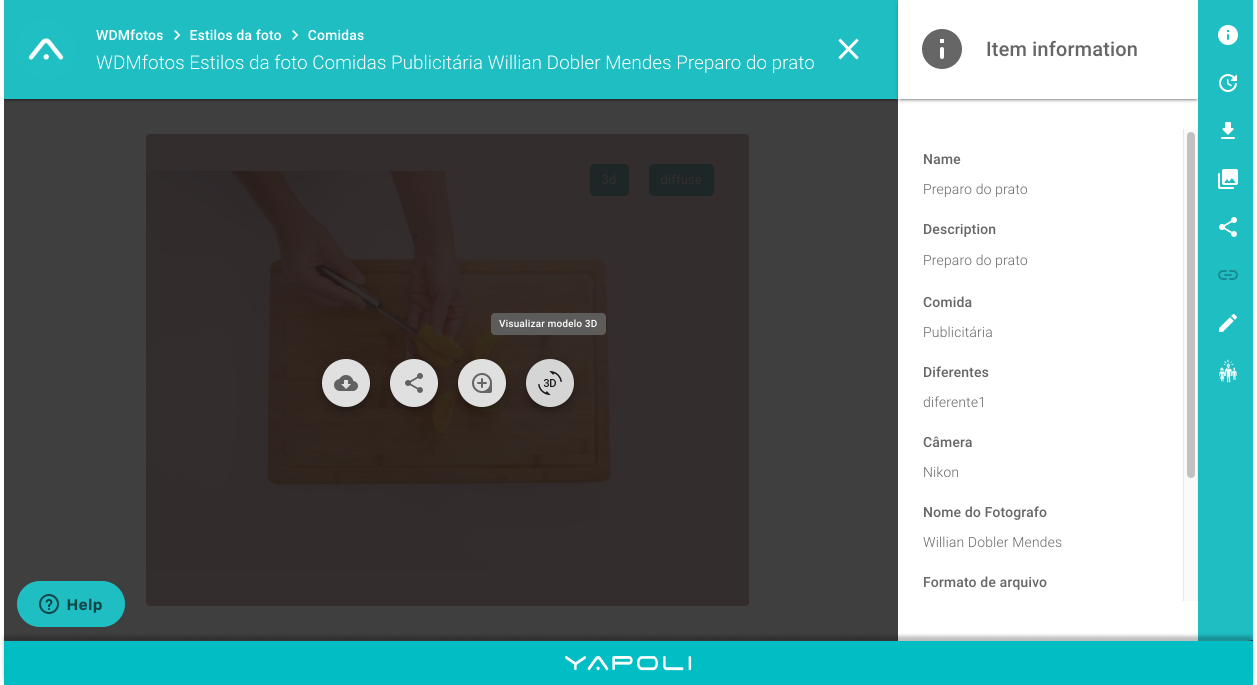
Step 7 - Hover the cursor over the image and click on the 3D icon to start viewing the Asset.
Comments
0 comments
Article is closed for comments.